📦 Tutorial: Flash a stock ROM on an Android TV box with a Rockchip processor (beginner)
🛑 1. Precautions and warnings
- Risk of bricking: an incorrect flash can permanently disable the box.
- Warranty: this operation generally voids the warranty.
- Stable power supply: use a reliable power socket.
- Quality USB cable: essential for a stable transfer.
- Backup recommended: although hard to do on TV boxes, back up everything you can.
🧰 2. Required hardware and software
Item | Details |
Windows PC | Windows 7, 10 or 11 |
USB cable | Type A to micro USB or USB-C, depending on your box |
Official firmware | See section 3.1 |
Rockchip Batch Tool | Flashing utility: Download here |
Rockchip USB drivers | Driver assistant: Download here |
Reset / Recovery button | Often a small hole underneath the box or in the AV port, to be pressed with a paperclip |
Other flashing software | |
ROM for the MSQ PRO 4K 5G RK222X (28 or 29) |
⬇️ 3. Required downloads
3.1 Download the stock ROM
Go to one of the following forums and search for the exact model of your box plus its processor (RK3318, RK3328, RK3399, etc.):
The ROM will usually be in .img format, or a .zip containing update.img.
3.2 Download Rockchip Batch Tool
- 🧰 Rockchip Batch Tool (v1.8) or try Tool Factory if it doesn't work.
Download it, then extract the .zip folder (e.g. RKBatchTool_v1.8) to your desktop.
3.3 Download the Rockchip USB drivers
⚙️ 4. Install the Rockchip drivers
- Extract the Driver Assistant ZIP file.
- Run DriverInstall.exe in administrator mode (right-click).
- Click "Install Driver".
- Windows may display an unsigned driver warning: click “Install anyway”.
🔍 Check: open Device Manager → you will see a “Rockusb Device” once the box is connected in special mode (see section 5).
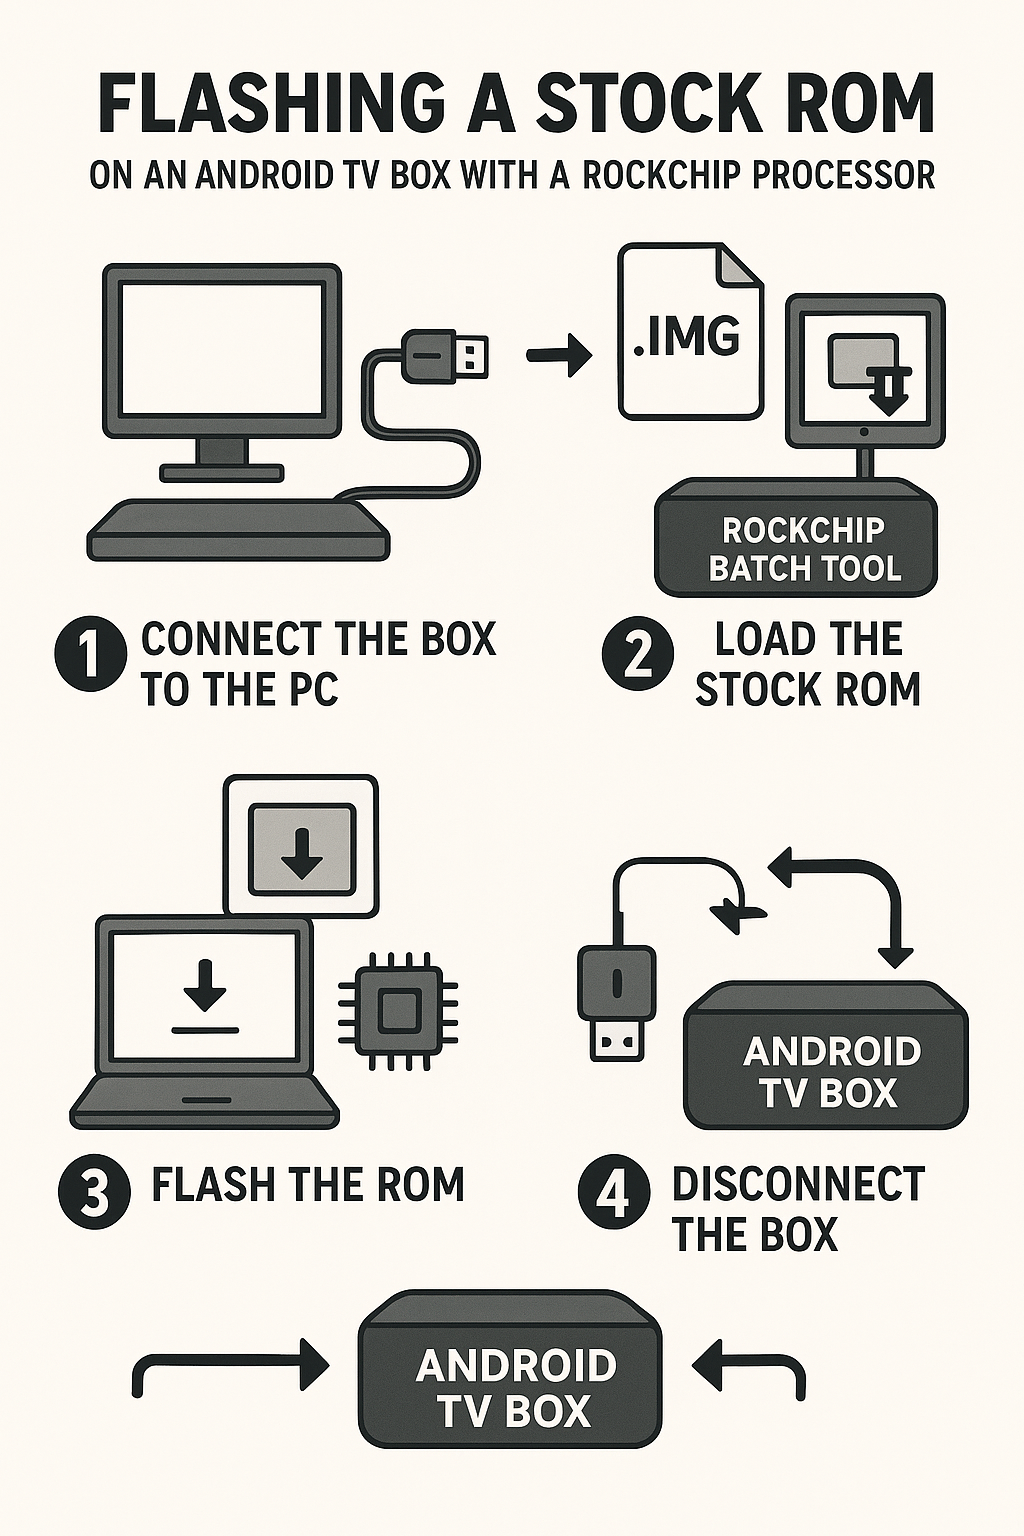
🧩 5. Put the box into bootloader mode (mask-ROM)
- Turn off the TV box.
- Find a small hole marked RESET or RECOVERY (often underneath the box).
- Insert a paperclip into this hole and hold it down.
- While doing so, connect the USB cable (type A to microUSB/USB-C) between the PC and the box.
- Release the paperclip after 3–5 seconds.
🟢 If all goes well, Rockchip Batch Tool will display a green box ("Connected").
🧱 6. Flash the ROM
- Open RKBatchTool.exe in administrator mode.
- Click the “…” button and load the .img file you downloaded.
- Wait while the software analyses the file.
Click "Upgrade" or "Restore":
- “Upgrade” keeps some data
- “Restore” wipes everything (preferred if the box is unstable or has been modified)
⚠️ Do not touch anything during the flash. Duration: 2 to 5 minutes.
- The software will display: “Upgrade Done Success” (in green).
- Unplug the box.
🔁 7. First start-up
- Reconnect the box to the power supply and the TV.
- The first boot may take 5 to 10 minutes.
- Set up Android as you would on a new device.
🛠️ 8. Troubleshooting
Problem | Solution |
The box does not turn green | Wrong cable, driver incorrectly installed, wrong reset method |
Bootloop after the flash | Reflash using the Restore option |
“Download IDB Fail” error | Poor-quality USB cable or incompatible firmware |
No device detected | Reinstall the Rockchip Driver Assistant |
It doesn't work | Try Tool Factory |
📚 Useful resources
- 🧵 FreakTab Rockchip forum: https://freaktab.com/rockchip/
- 🧵 XDA Rockchip: https://forum.xda-developers.com/f/rockchip-processors.3029/
- 🧑💻 Rockchip Open Source (docs and tools): https://opensource.rock-chips.com/wiki_Main_Page